Install Scalekit
Deploy Scalekit on a Kubernetes cluster using Helm and the Gateway API.
Deploy Scalekit on any Kubernetes cluster using the Helm chart distributed through the Scalekit distribution portal. The chart uses the Kubernetes Gateway API for ingress.
-
Create a personal access token
Section titled “Create a personal access token”Log in to the Scalekit distribution portal. This token authenticates your cluster to pull both the Helm chart and container images from
ar.scalekit.cloud.
After signing in you will see the portal home page.
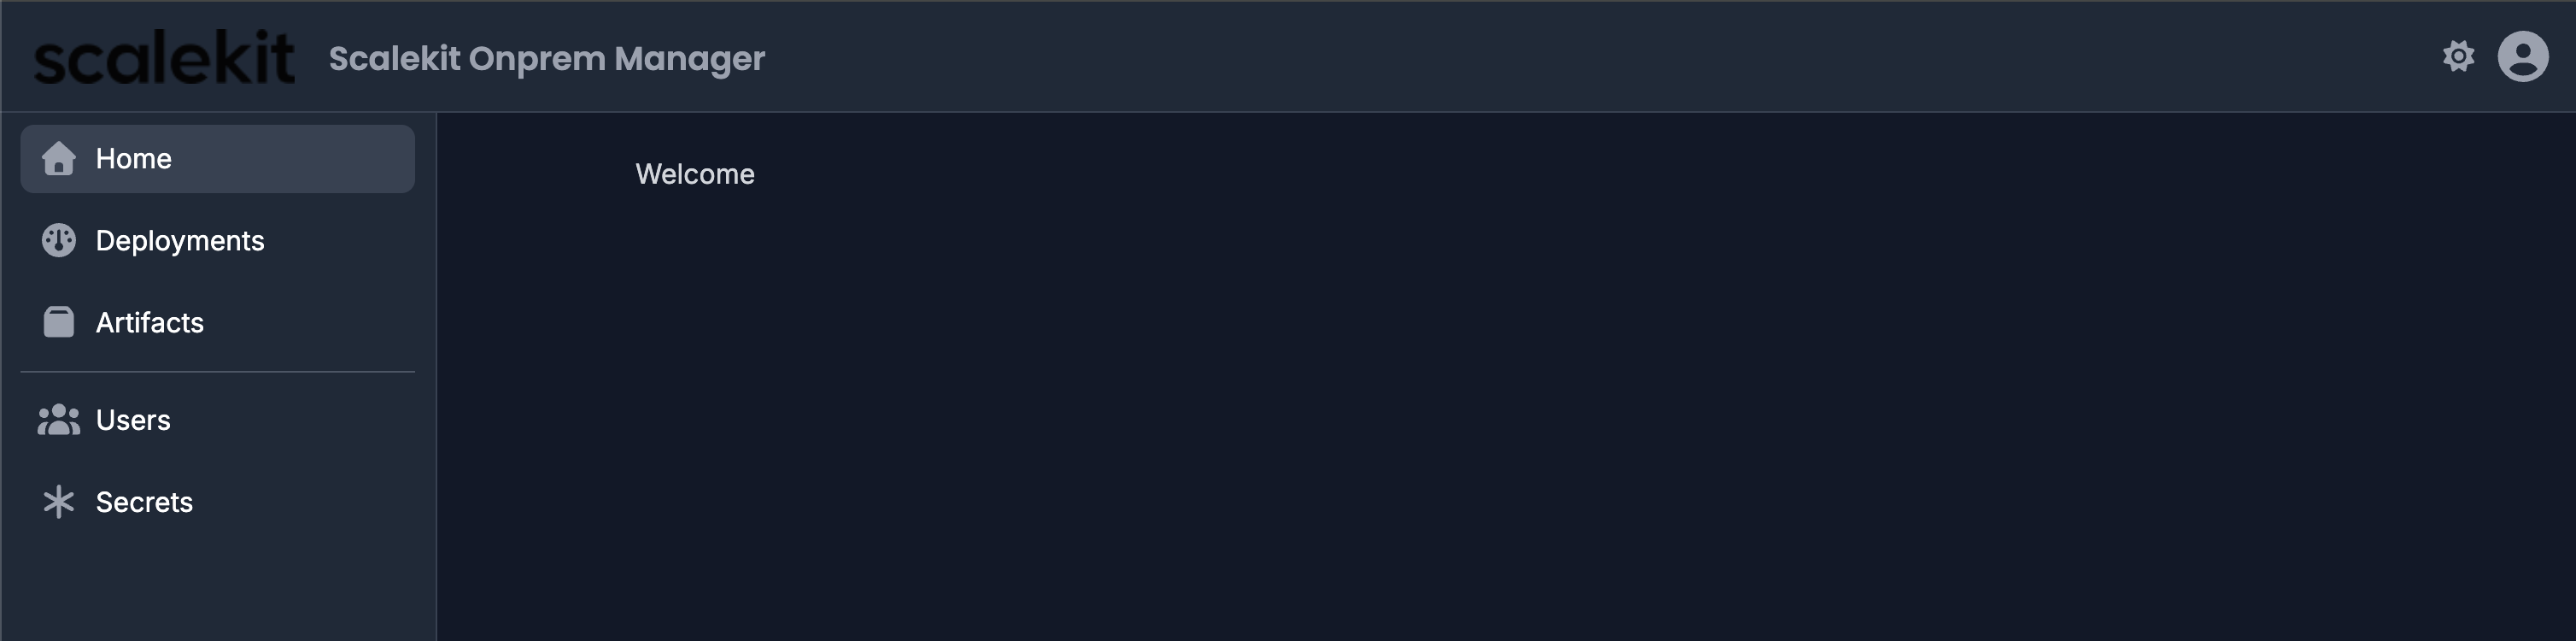
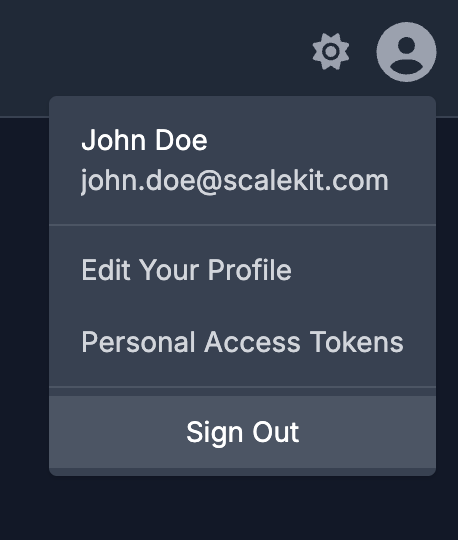
Click the profile icon in the top-right corner.

In the dropdown, select Personal Access Tokens.
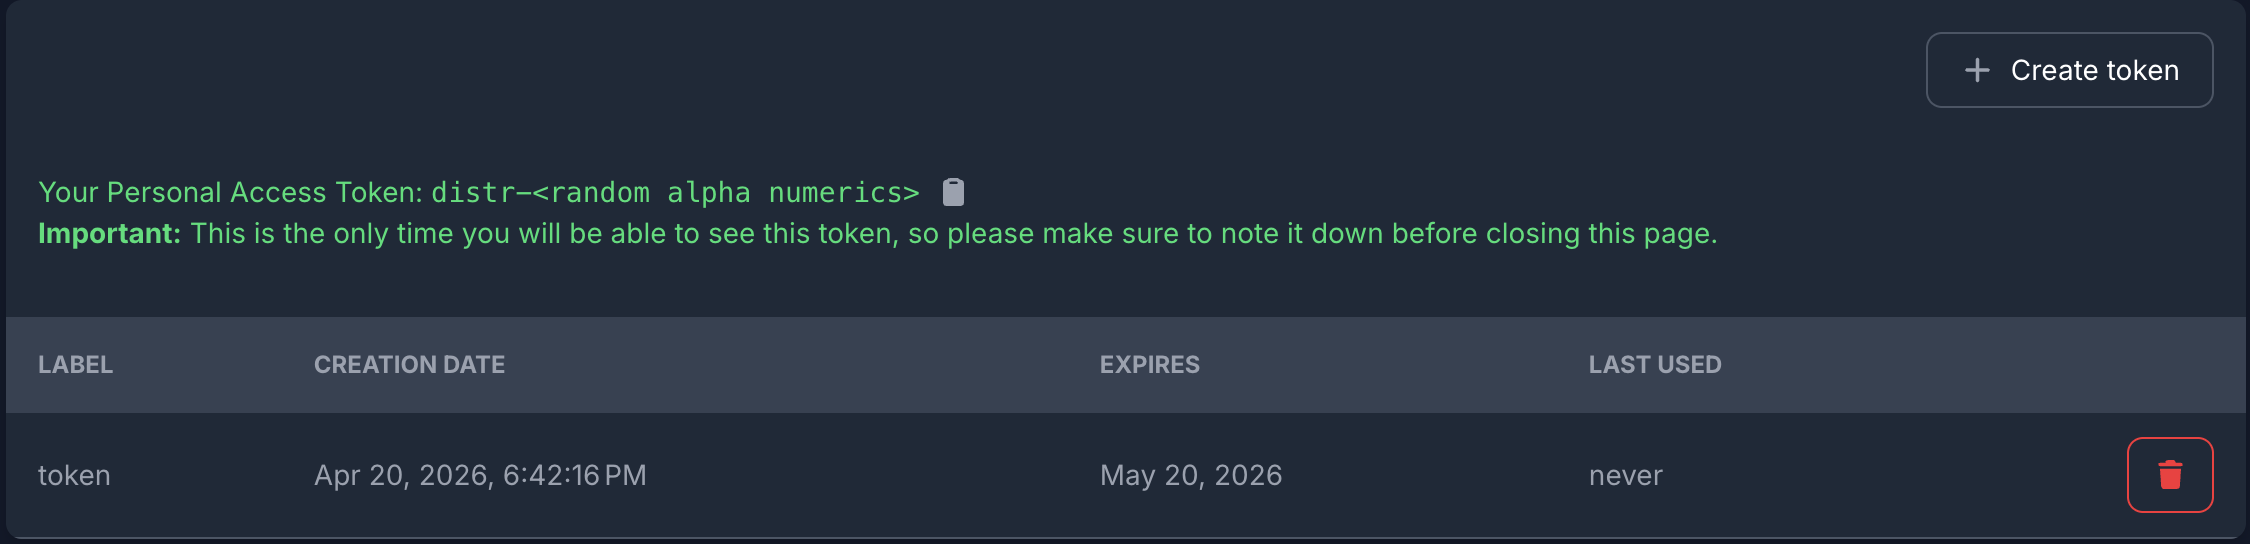
You will see the Personal Access Tokens page. Click + Create token.
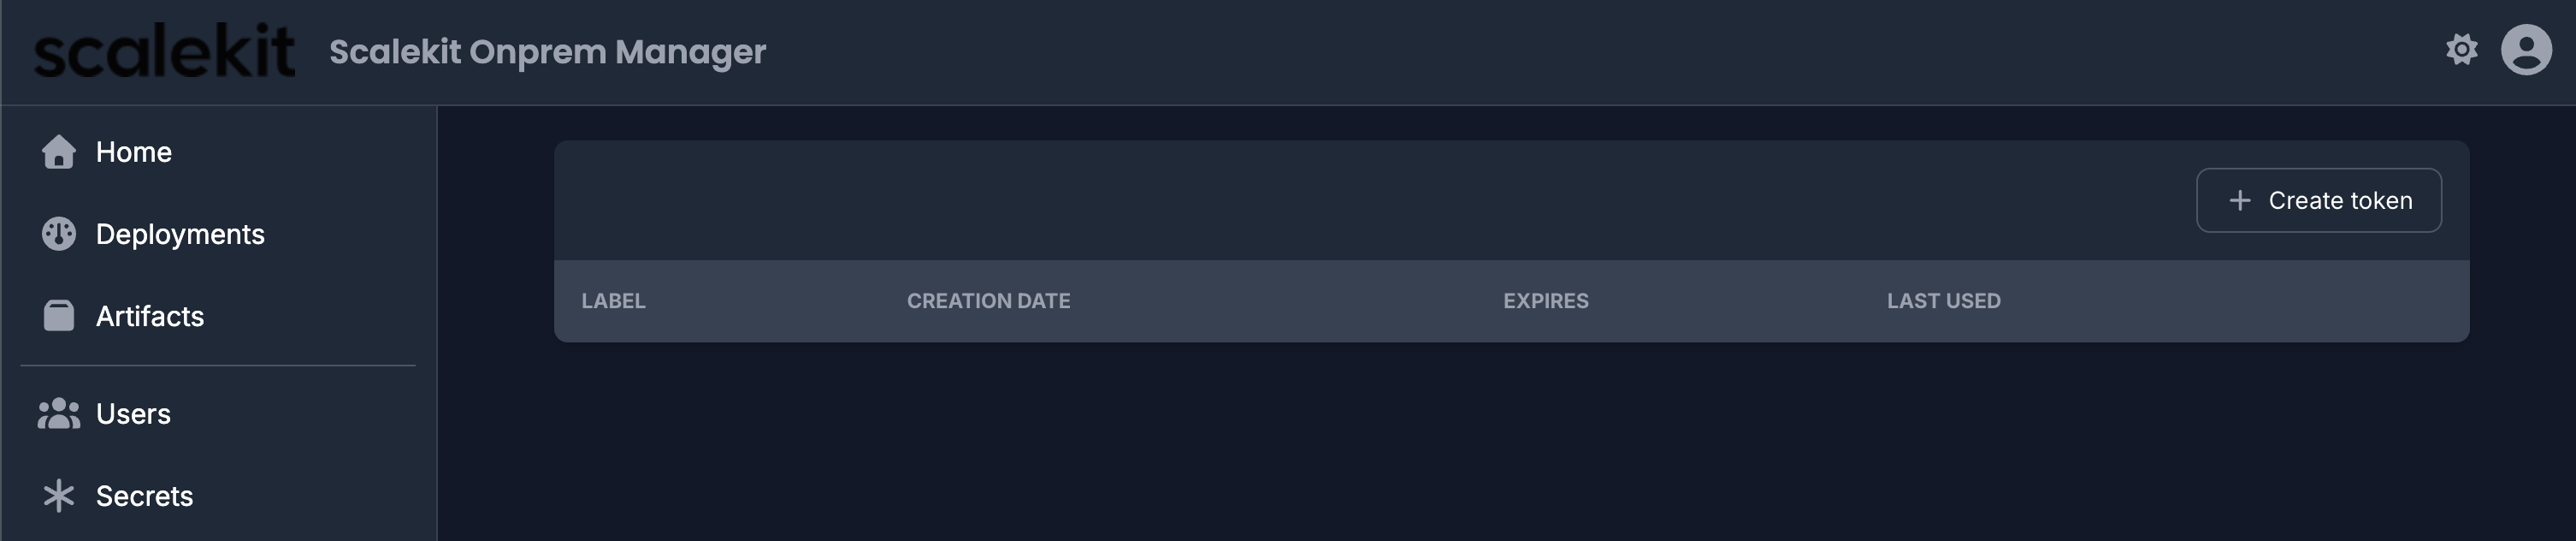
A form slides in. Enter a Label and set an Expires At date, then click + Create.
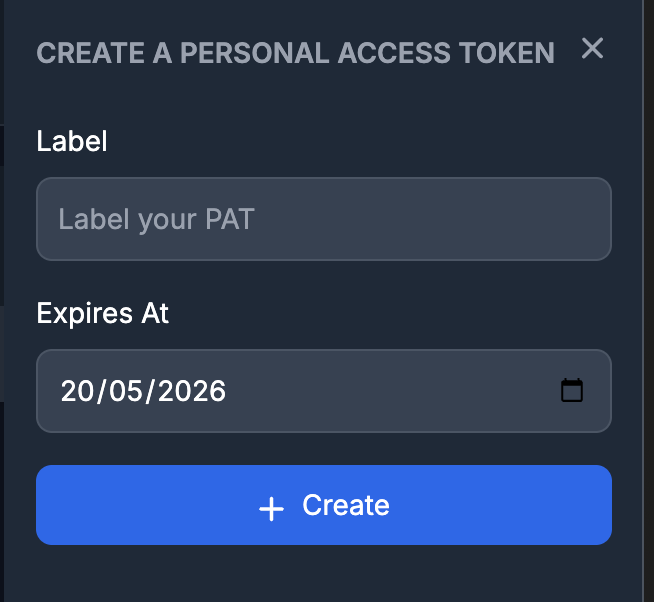
Your token is displayed once. Copy it immediately — it cannot be retrieved after you leave this page.
-
Run the setup script
Section titled “Run the setup script”The setup script collects your configuration interactively and generates two files: a secrets script and a
values.yaml. Copy the script from that page, then run it:Terminal window chmod +x setup-secrets.shbash setup-secrets.shWhen prompted for environment, select the option that matches your target:
1— Minikube (local, uses nginx ingress)2— GCP / GKE (configures GKE Gateway and NEG annotations)3— Other Kubernetes cluster (generic config, add your own ingress)4— Evaluation (bundled PostgreSQL and Redis; minimal setup)
The script walks you through namespace, PostgreSQL, Redis, SMTP, registry token, domain, and admin user settings. GKE-specific Gateway settings are only collected for option
2.When the script finishes, it prints the paths to two generated files. Before proceeding, open each file and verify the values are correct.
values-gke-<timestamp>.yaml— confirm:app.domainmatches your intended domaindatabase.host,database.name, anddatabase.userpoint to the right PostgreSQL instanceredis.hostpoints to the right Redis instanceseedData.adminUser.emailis the address you want for the initial admin logingateway.classNameandgateway.annotationsmatch your cluster’s gateway configuration
scalekit-secrets-gke-<timestamp>.sh— confirm:- The namespace at the top matches your intended namespace
- Database and Redis connection strings in
db-migrationsandauthentication-secretare correct - The registry token in
artifact-registry-secretis the one you just created
-
Apply the Kubernetes secrets
Section titled “Apply the Kubernetes secrets”Run the secrets script the setup script generated:
Terminal window bash scalekit-secrets-gke-<timestamp>.shVerify all secrets were created:
Terminal window kubectl get secrets -n <namespace>Expected secrets:
authentication-service-token,db-migrations,authentication-secret,svix-secrets,artifact-registry-secret. If you ran the script with--enable-openfga,openfga-secretswill also be present. -
Create a deployment
Section titled “Create a deployment”Deployments are created through the Scalekit distribution portal.
Open Deployments
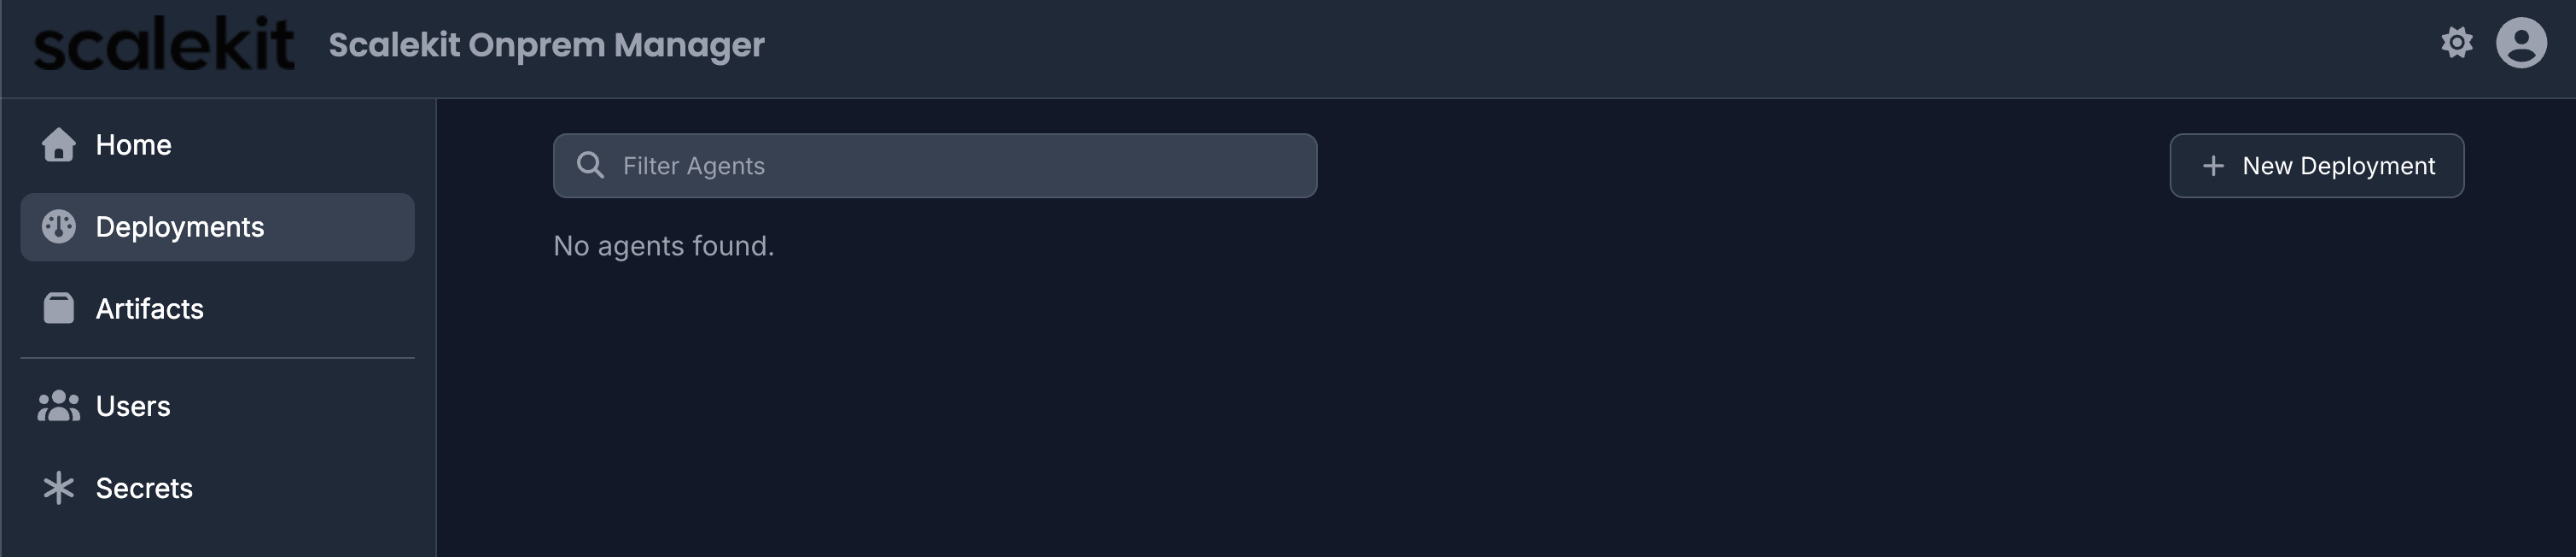
Section titled “Open Deployments”In the left sidebar, click Deployments, then click + New Deployment in the top-right corner.
Select the application
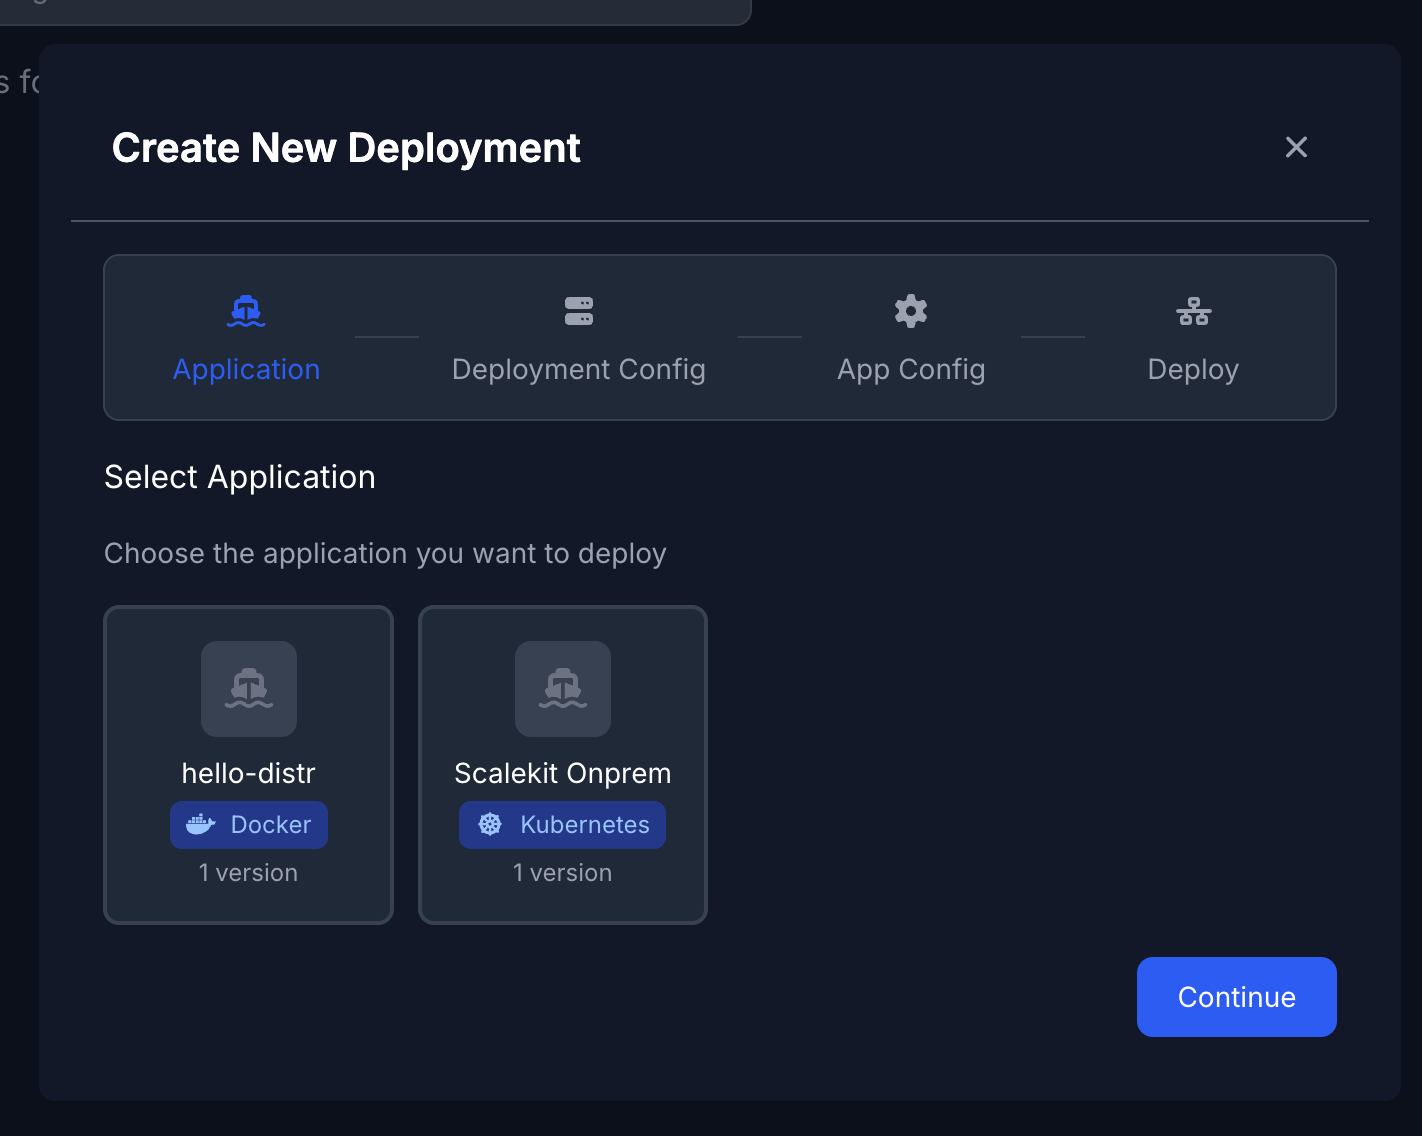
Section titled “Select the application”In the Create New Deployment dialog, select Scalekit Onprem and click Continue.
Configure the deployment
Section titled “Configure the deployment”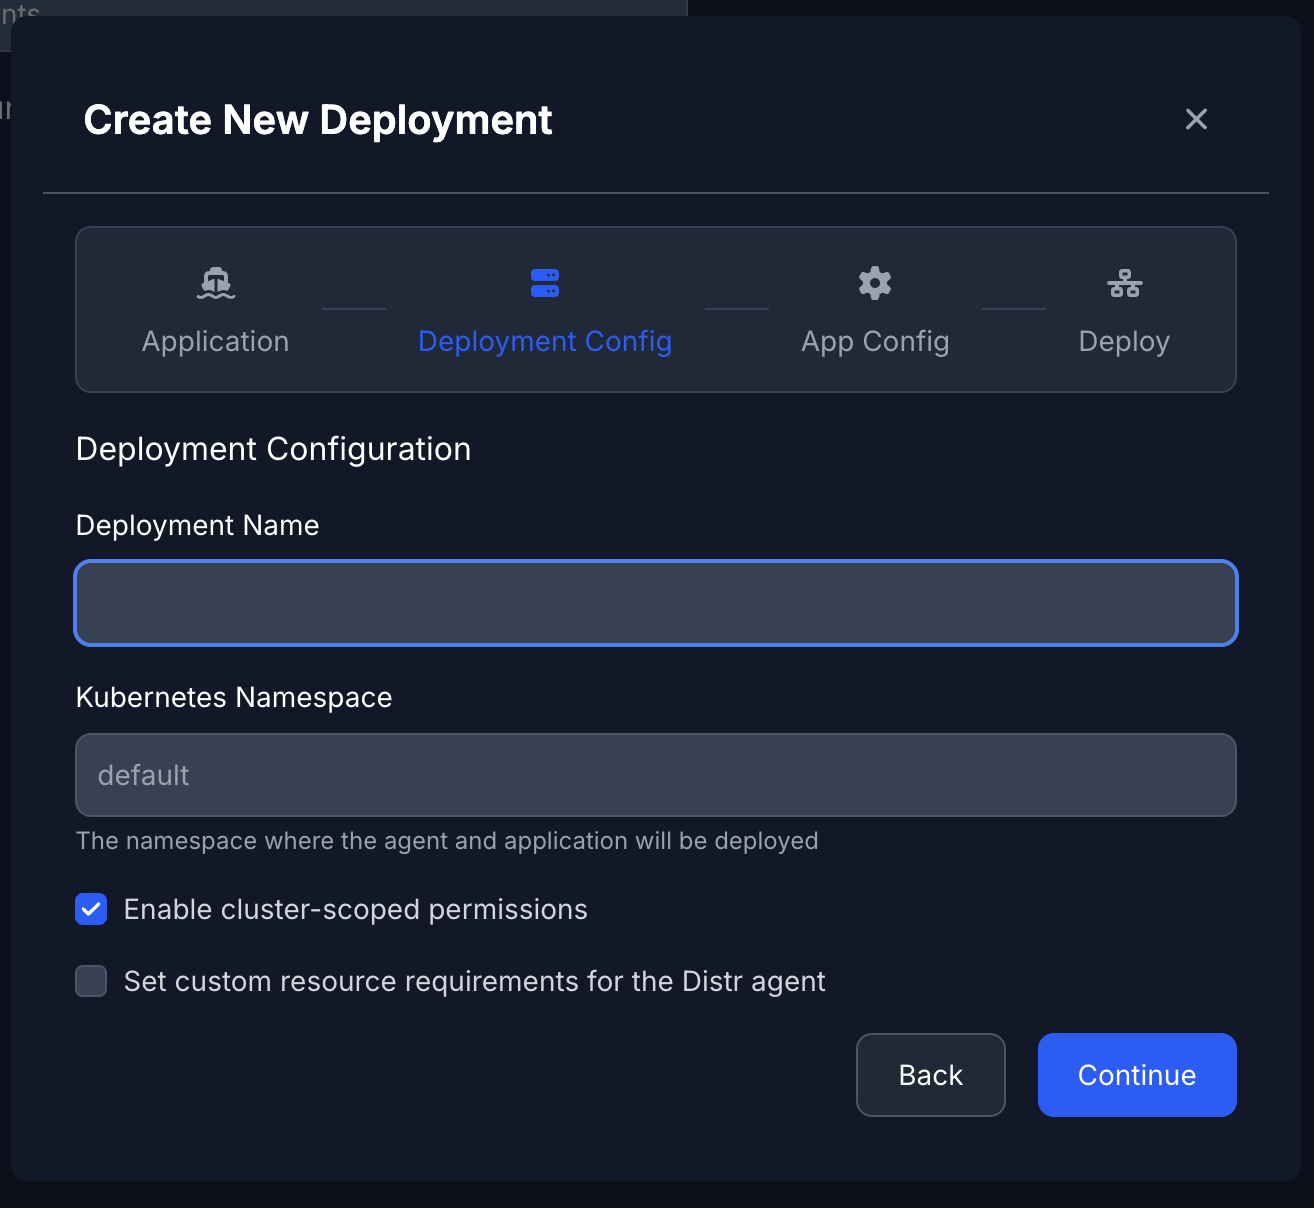
- Deployment Name — any name you choose;
scalekitis recommended - Kubernetes Namespace — must match the namespace you used in step 3
- Leave Enable cluster-scoped permissions checked
- Leave Set custom resource requirements for the Distr agent unchecked
Click Continue.
Select a version and add values
Section titled “Select a version and add values”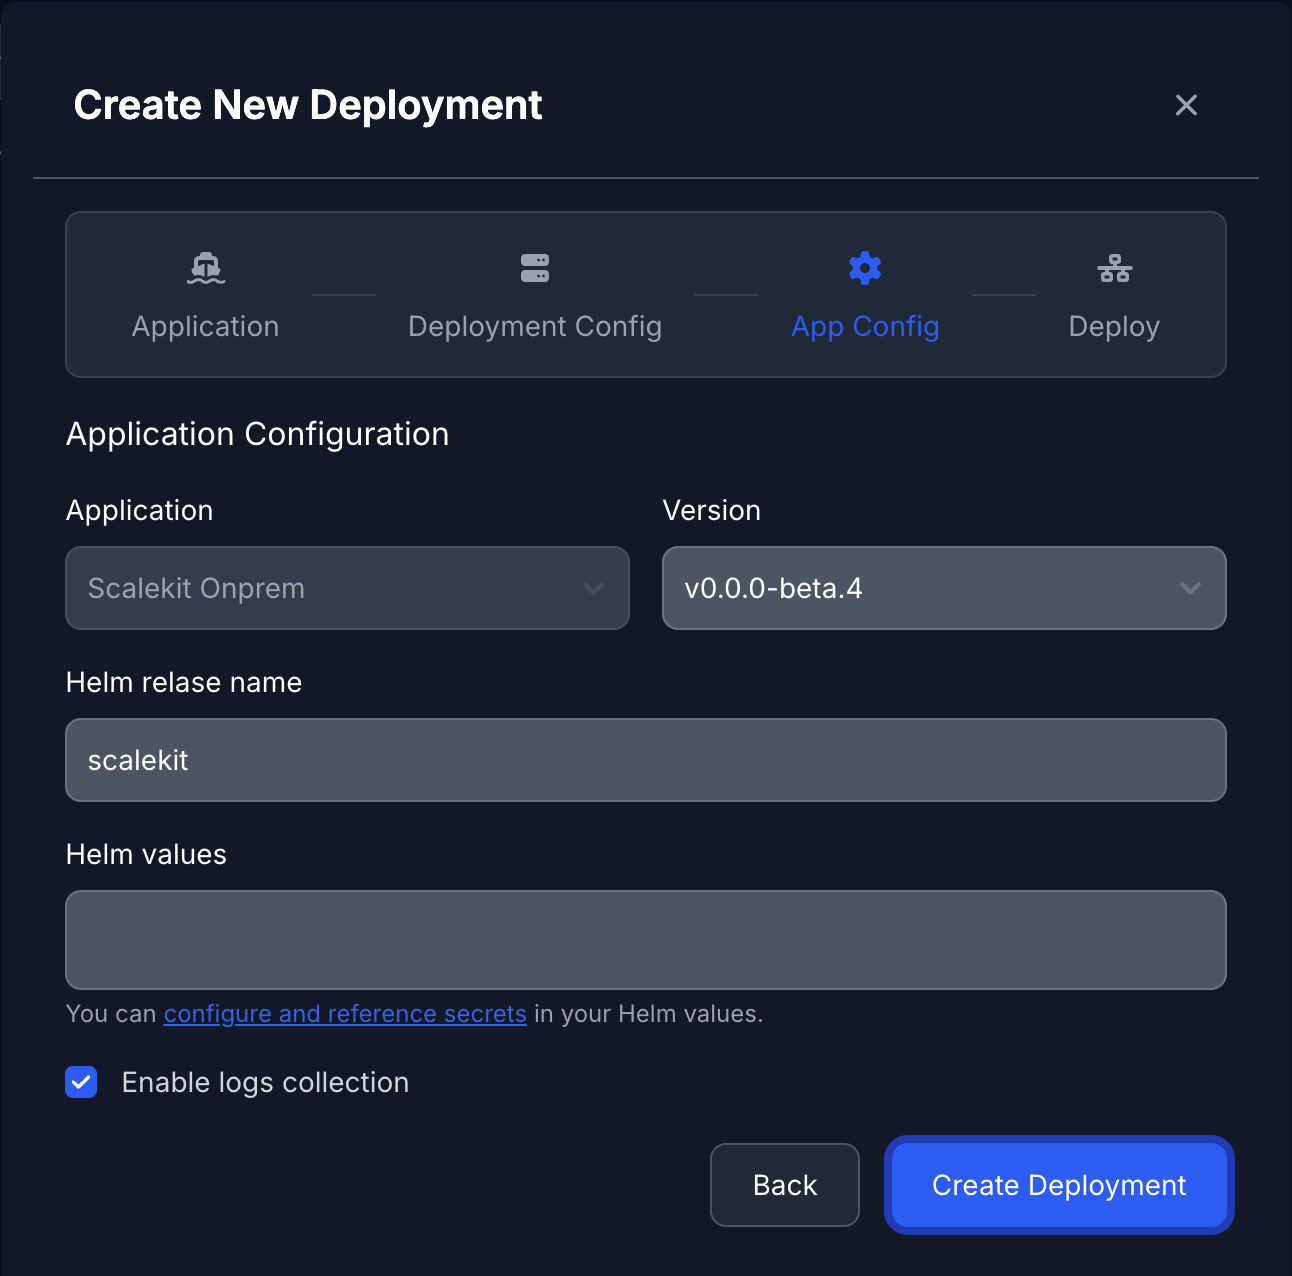
- Version — select the latest available version from the dropdown
- Helm release name — leave as
scalekitor set your own - Helm values — paste the full contents of
values-gke-<timestamp>.yamlgenerated by the setup script
Click Create Deployment. The portal moves to the Deploy step and shows a
kubectl applycommand.Connect your cluster
Section titled “Connect your cluster”The portal shows a Deployment Created Successfully screen with a
kubectl applycommand.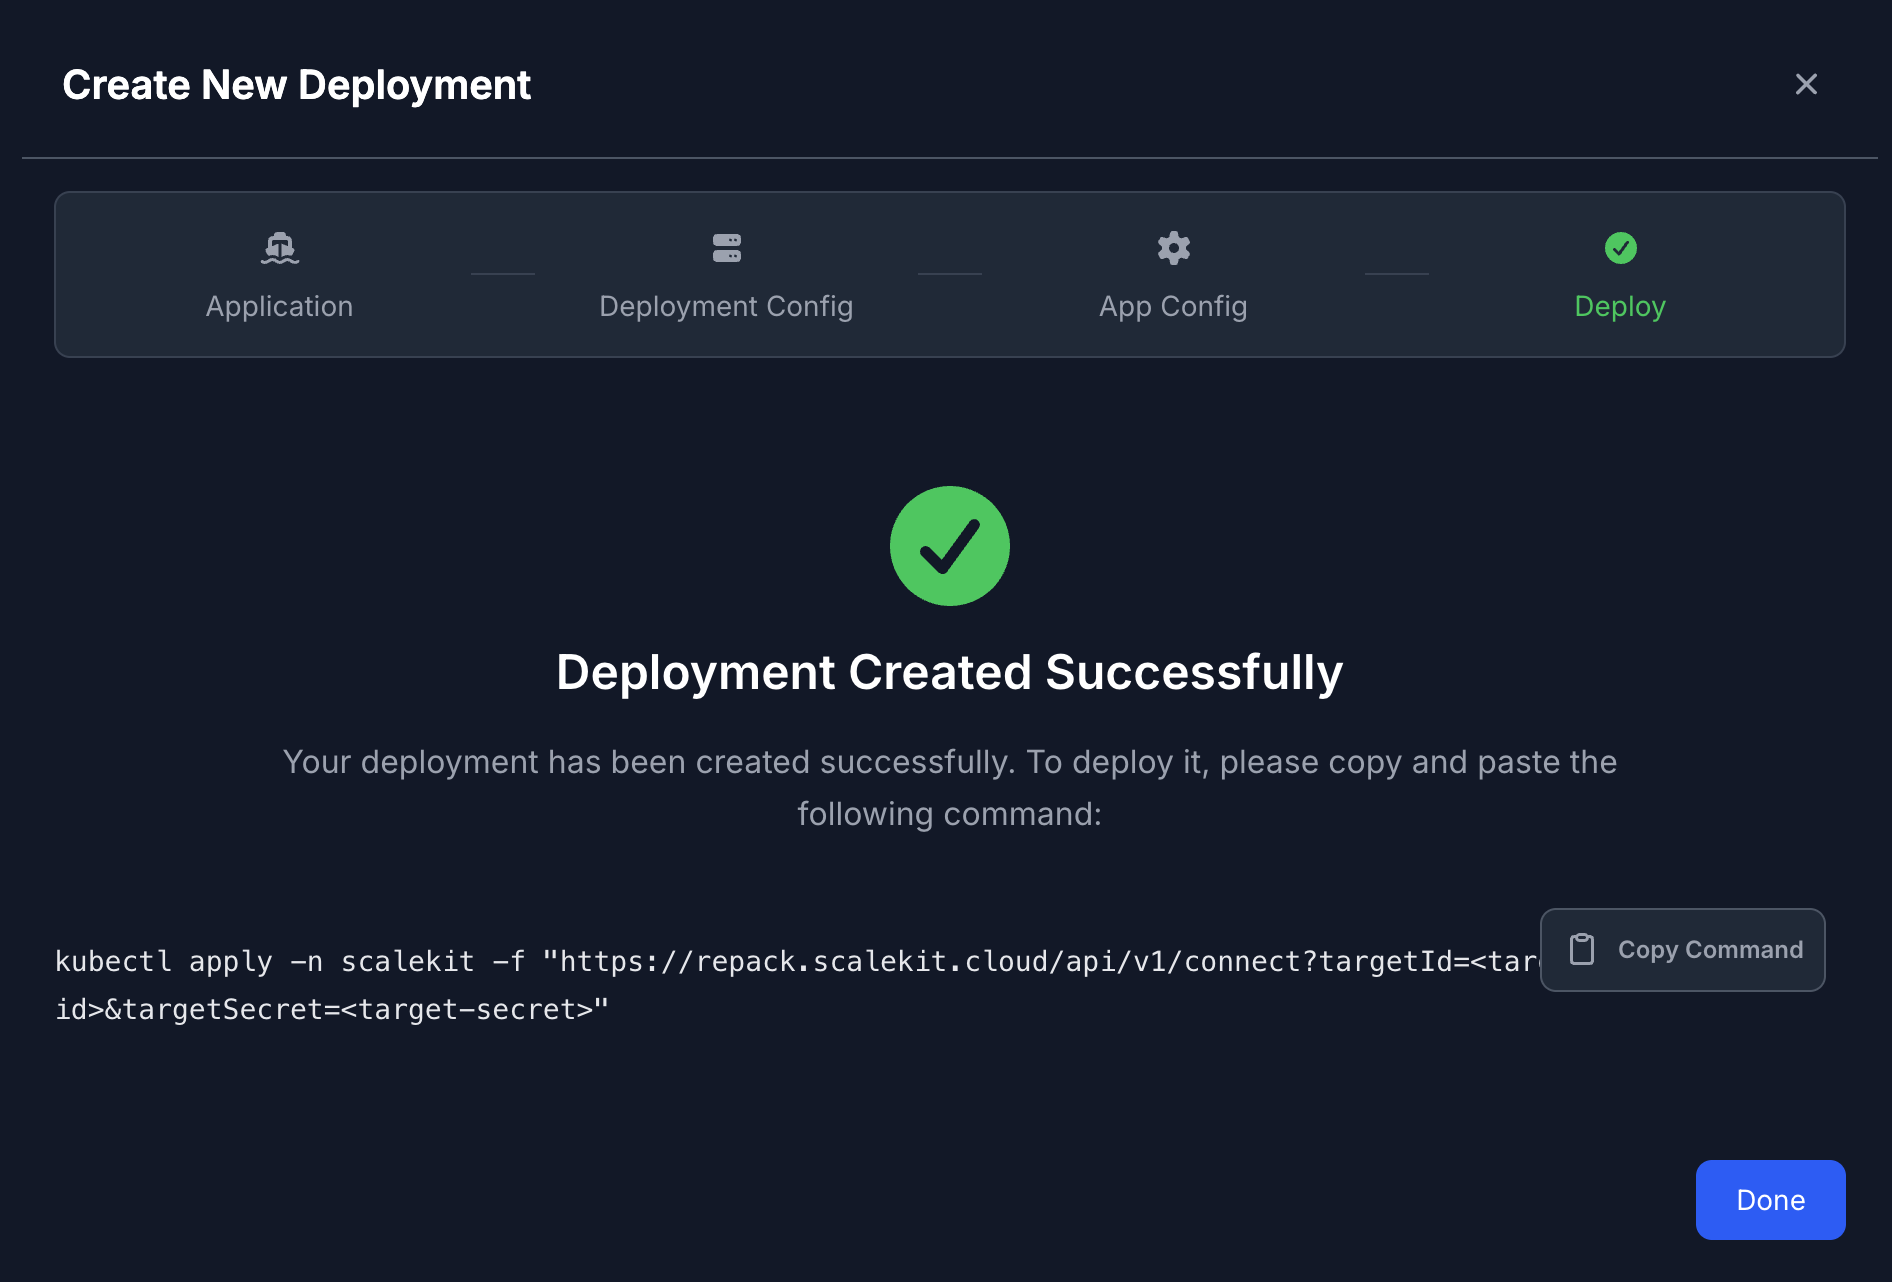
Click Copy Command and run it on your cluster:
Terminal window kubectl apply -n <namespace> -f "https://repack.scalekit.cloud/api/v1/connect?targetId=<targetId>&targetSecret=<targetSecret>" - Deployment Name — any name you choose;
-
Update DNS
Section titled “Update DNS”Once the Gateway is up, get its external IP:
Terminal window kubectl get gateway -n <namespace>Copy the external IP from the
ADDRESScolumn. In your DNS provider, create a wildcardArecord pointing to it:*.<your-domain> → <gateway-external-ip>DNS propagation can take a few minutes. You can verify with:
Terminal window dig app.<your-domain> -
Verify the deployment
Section titled “Verify the deployment”Terminal window kubectl get pods -n <namespace>All pods should show
Runningstatus. Open the admin dashboard athttps://app.<your-domain>and sign in with the admin credentials you provided during setup.